Welcome to this easy step by step guide to creating your own planner, journal or notebook on Amazon print on demand (kdp) in 4 easy steps!
1) PLAN
2) CREATE
3) UPLOAD
4) SELL!
1) PLAN

It is well worth taking the time to sketch out a mock up of your book content to help you decide on a general look and feel and create guidelines of what you want the functionality of the pages to be.
Do you want to create a certain number of core pages and then repeat them throughout the book? How many pages would you like there to be in total?
Do you want to create a lower cost book which is black and white, or do you want to create something using full colour?
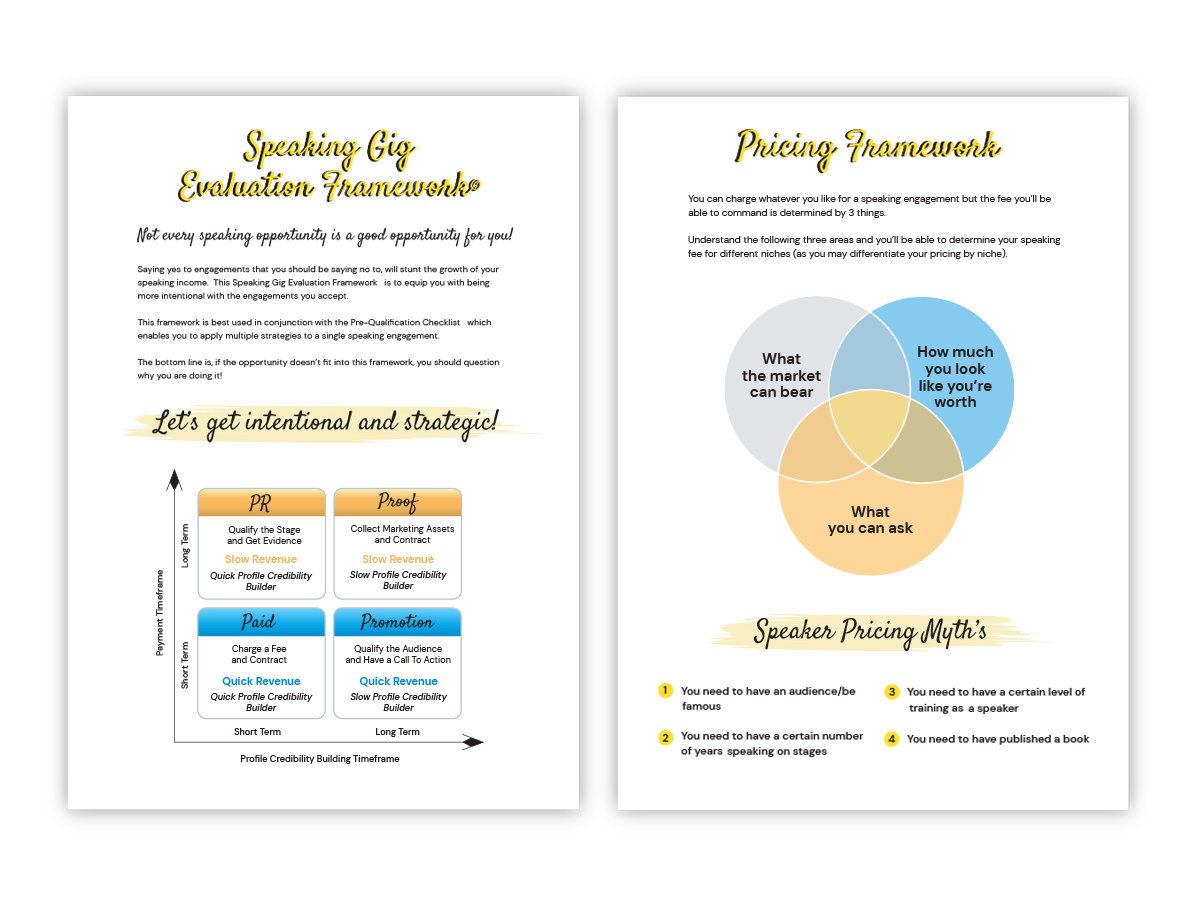
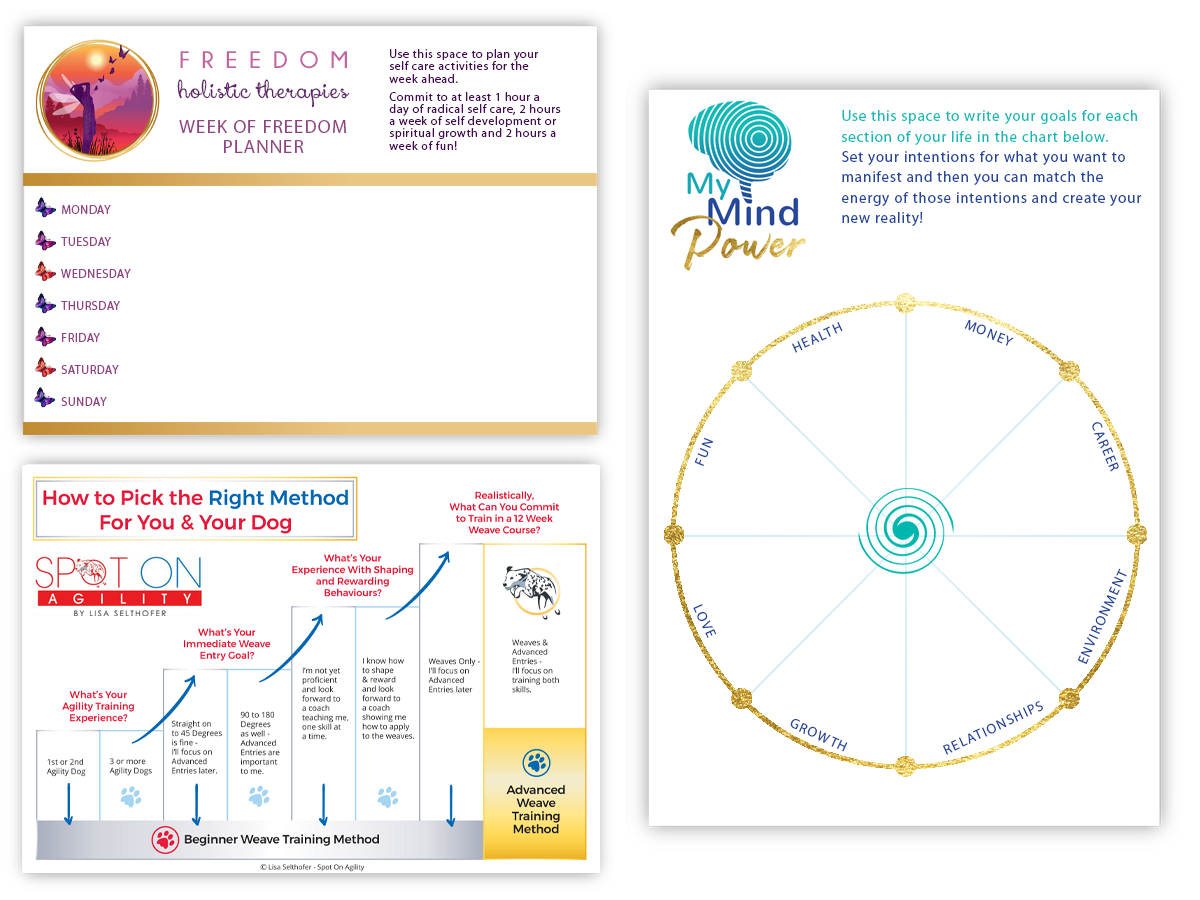
Do you want to add in images, infographics and charts?
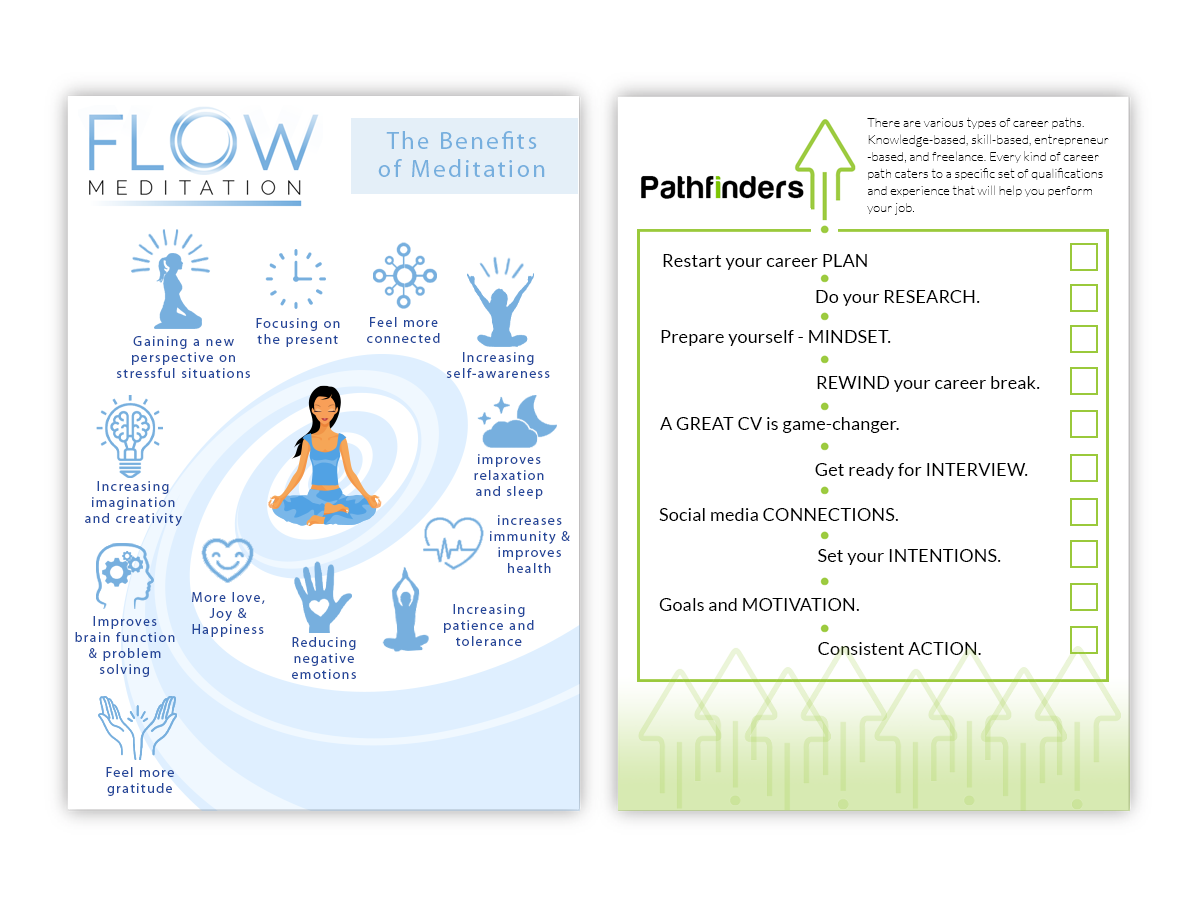
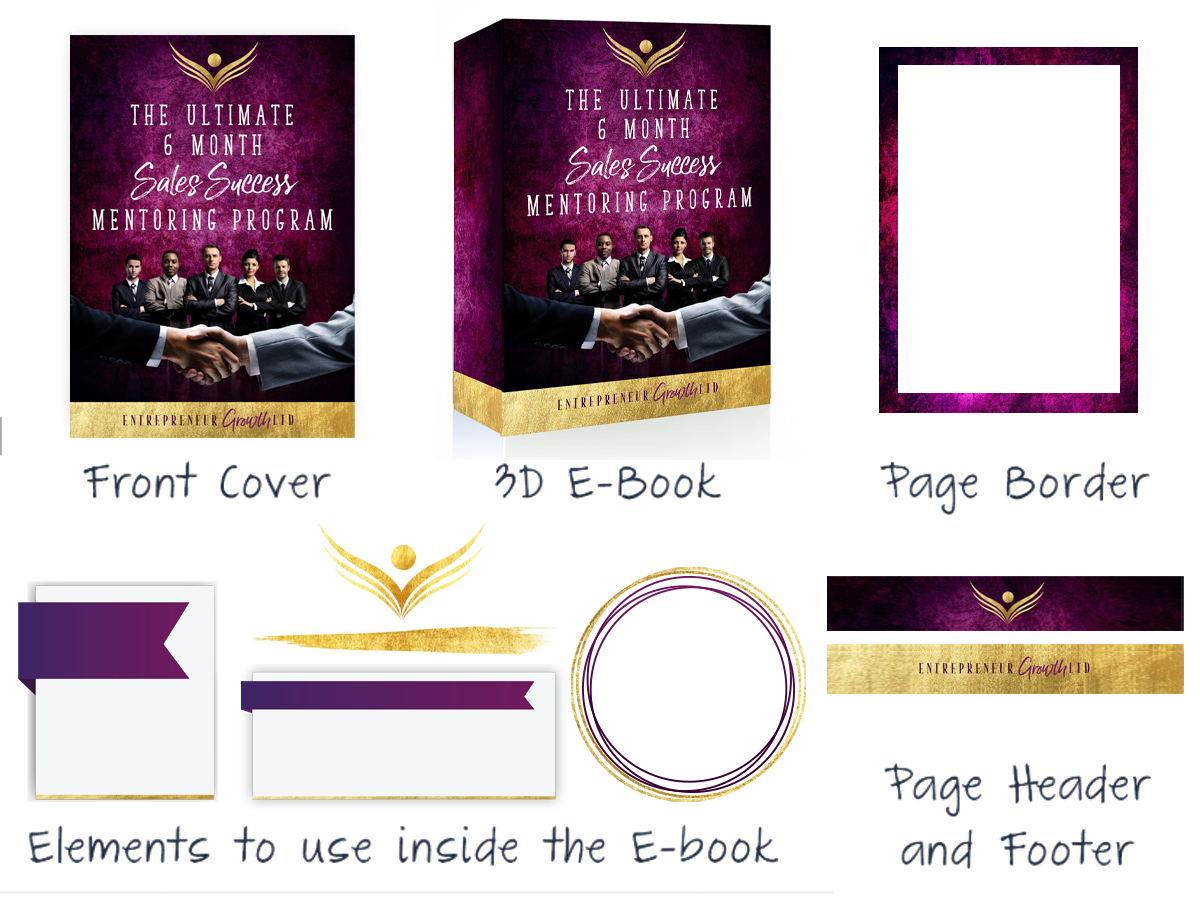
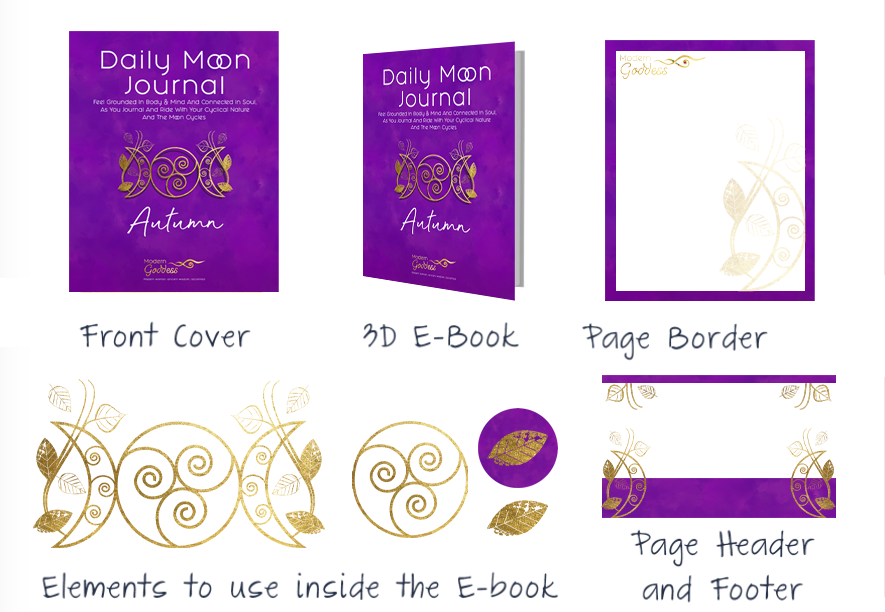
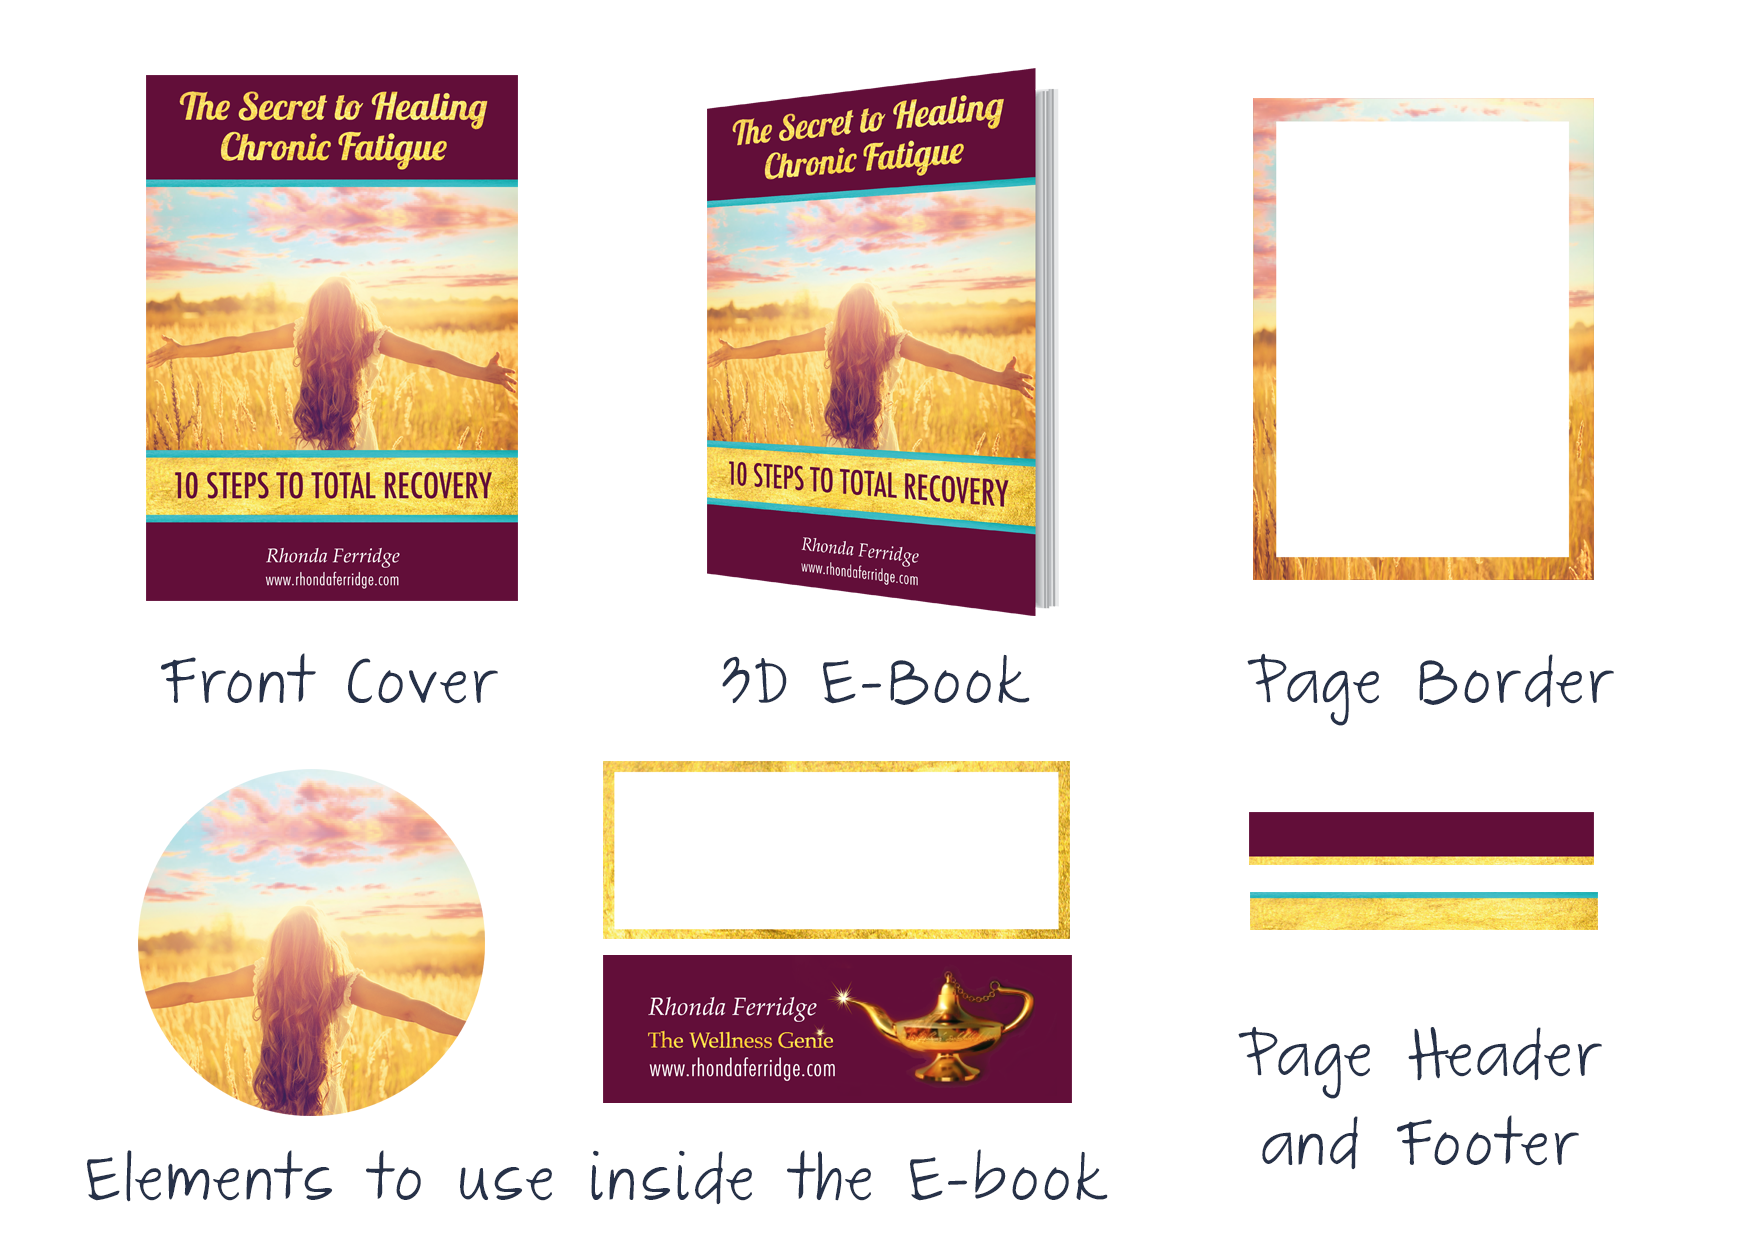
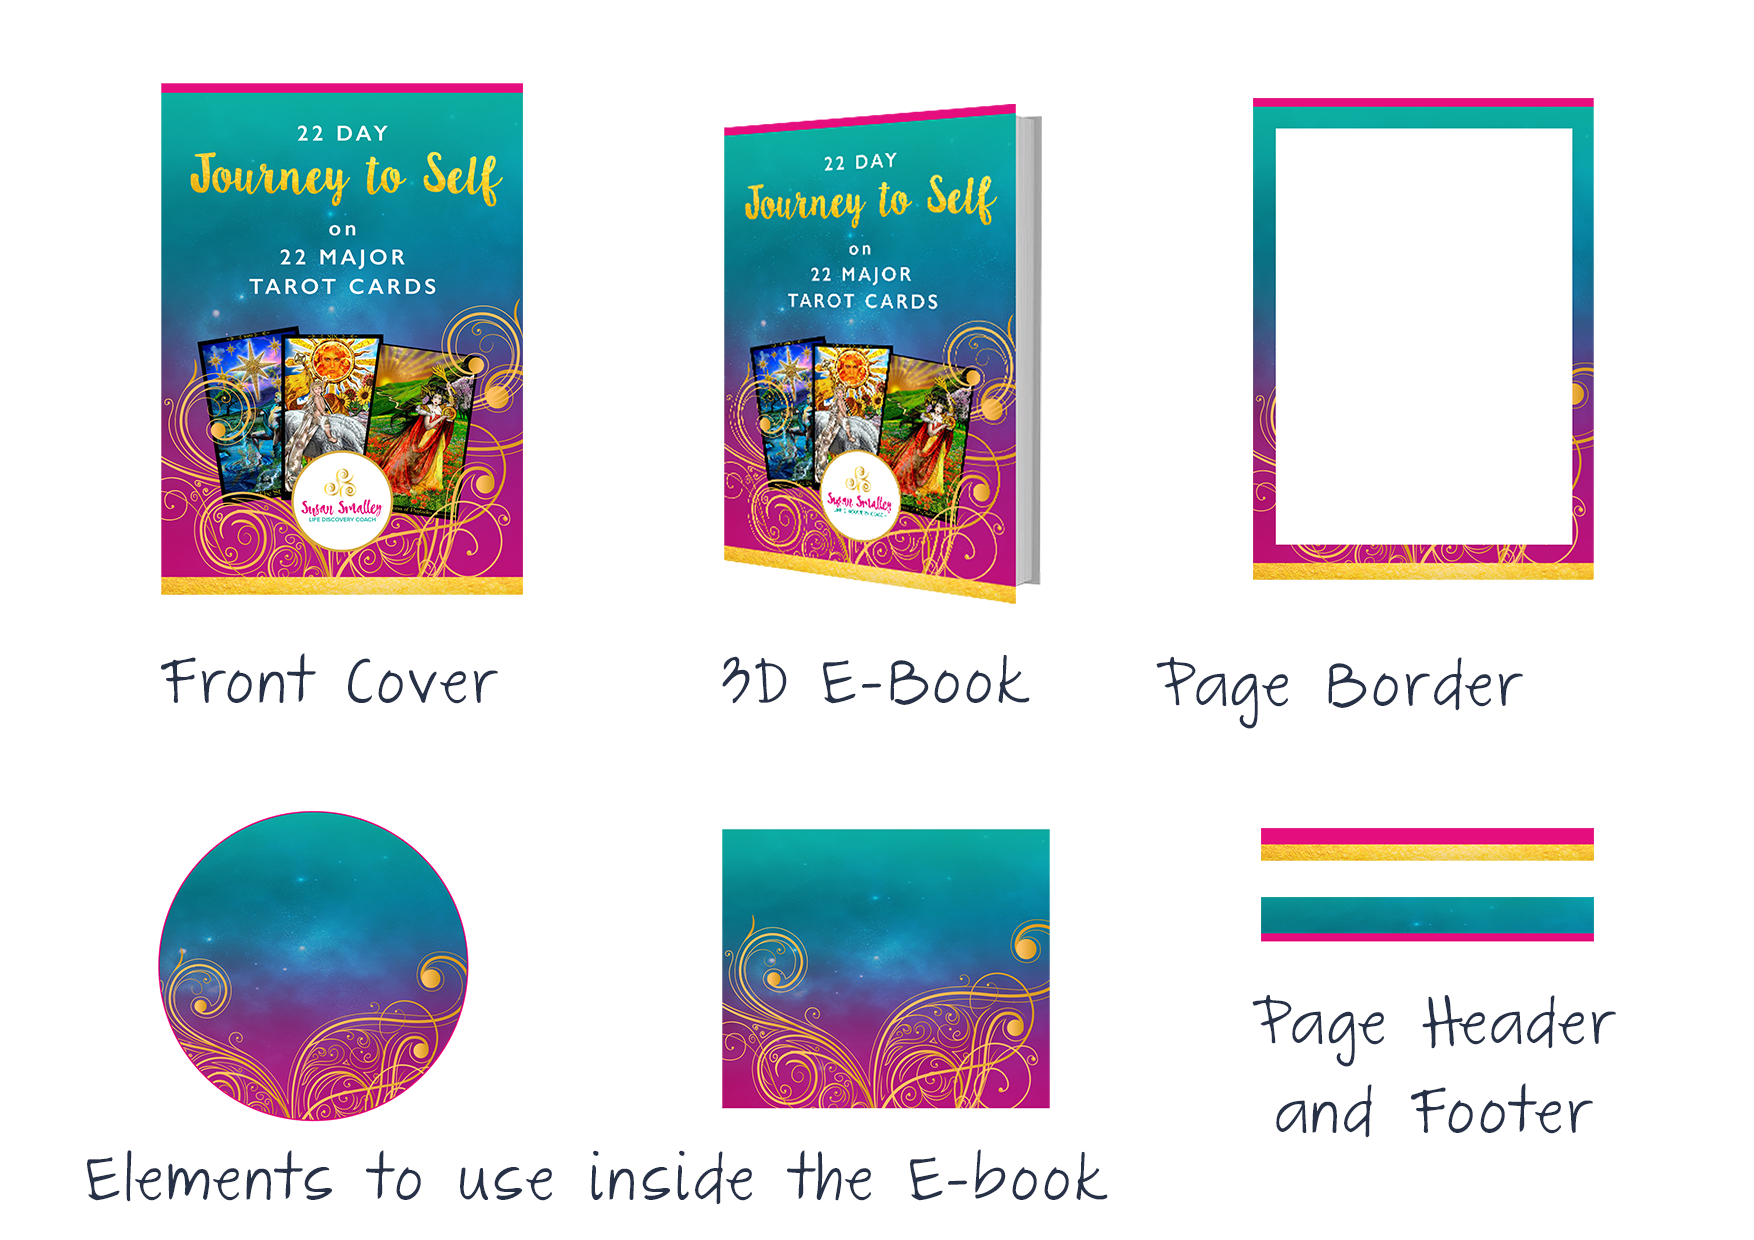
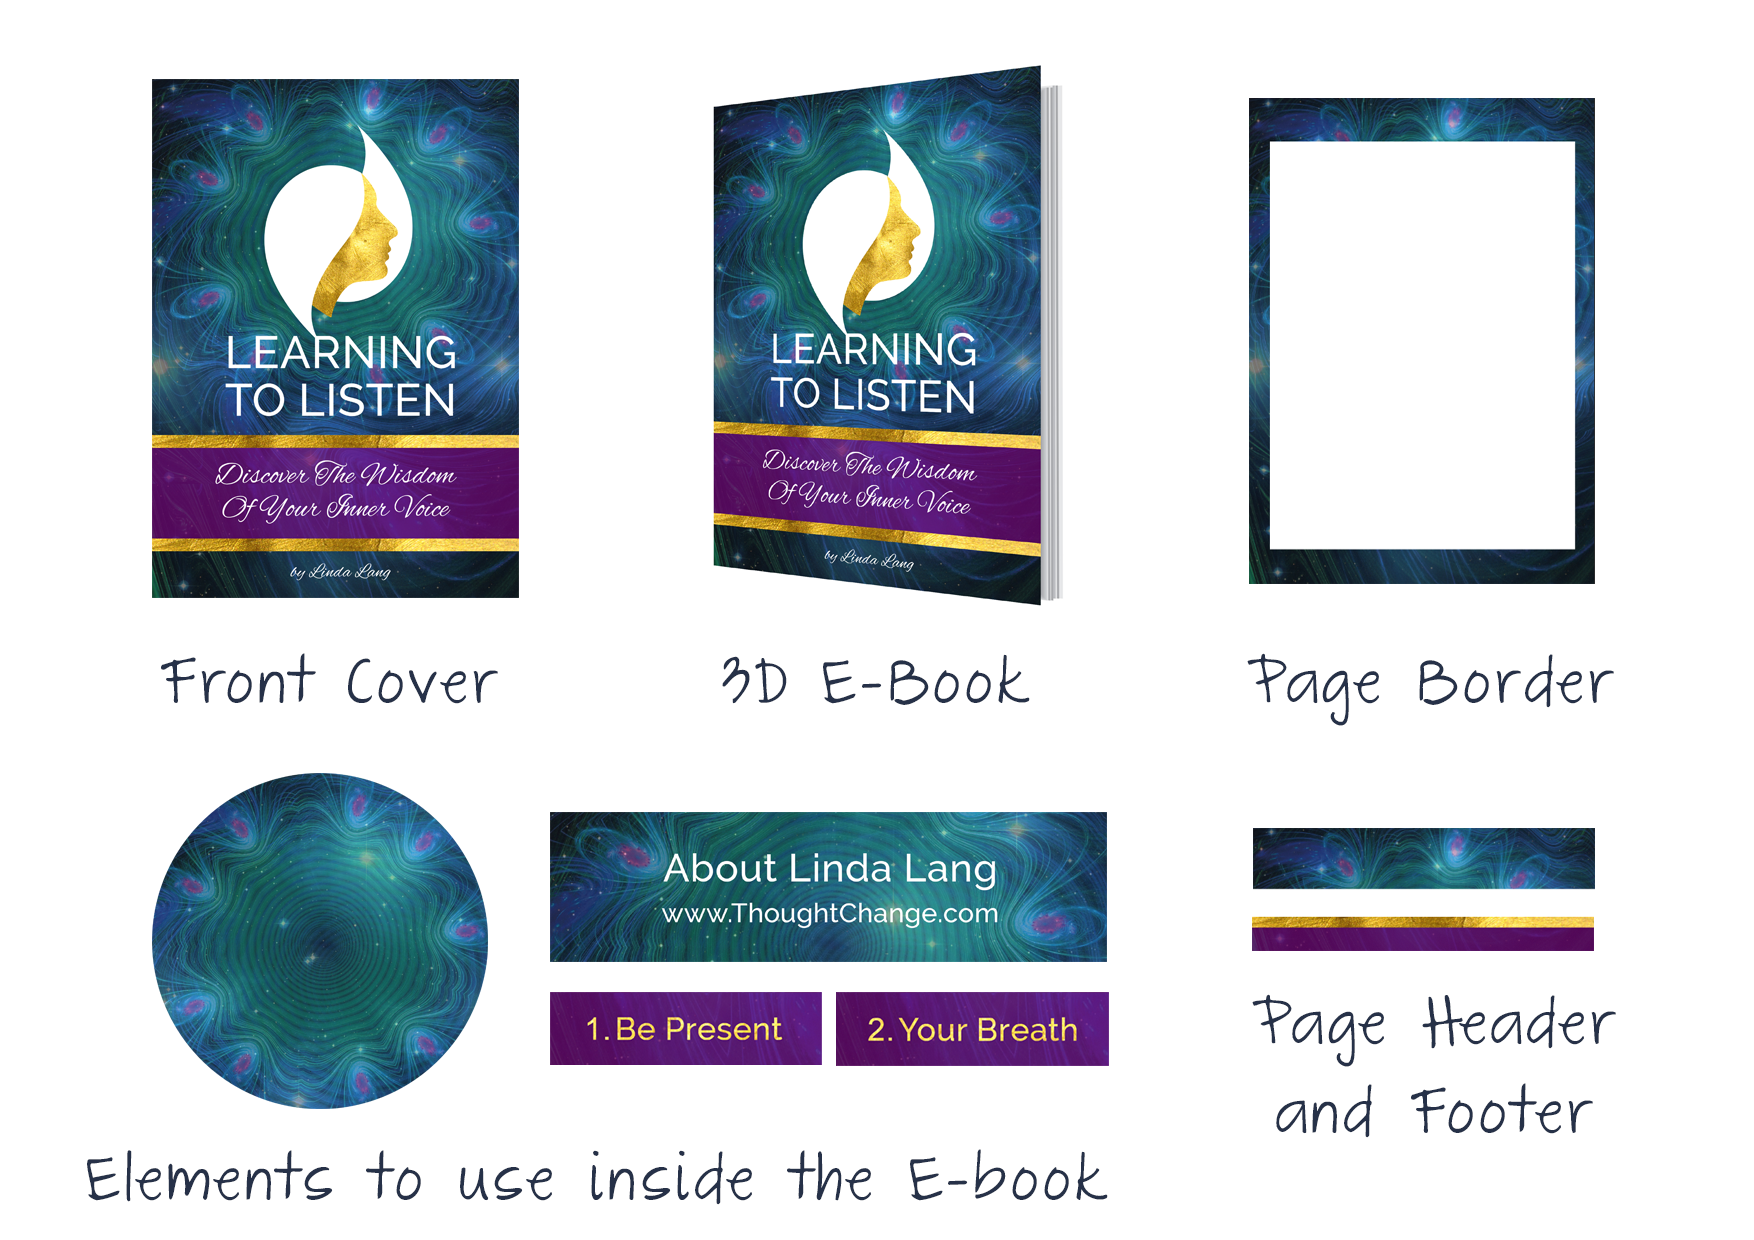
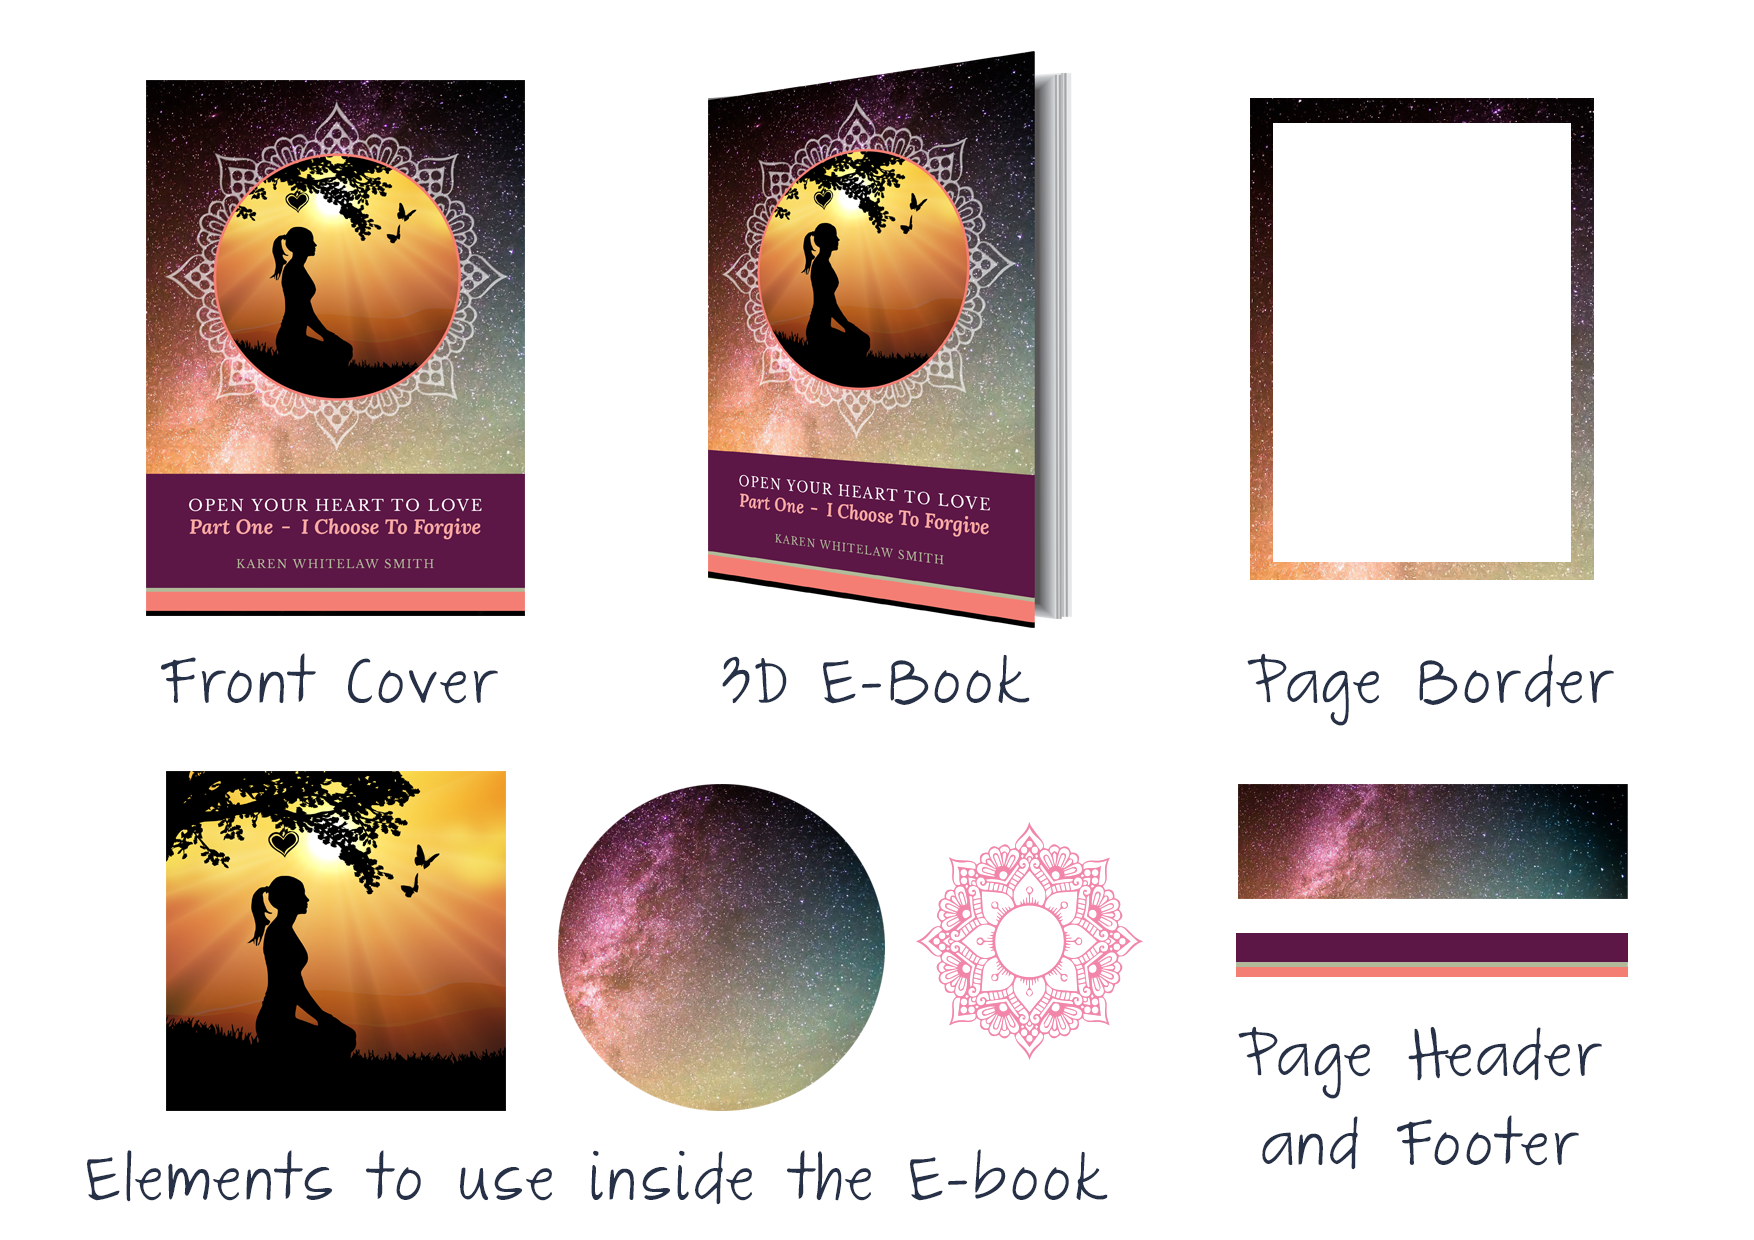
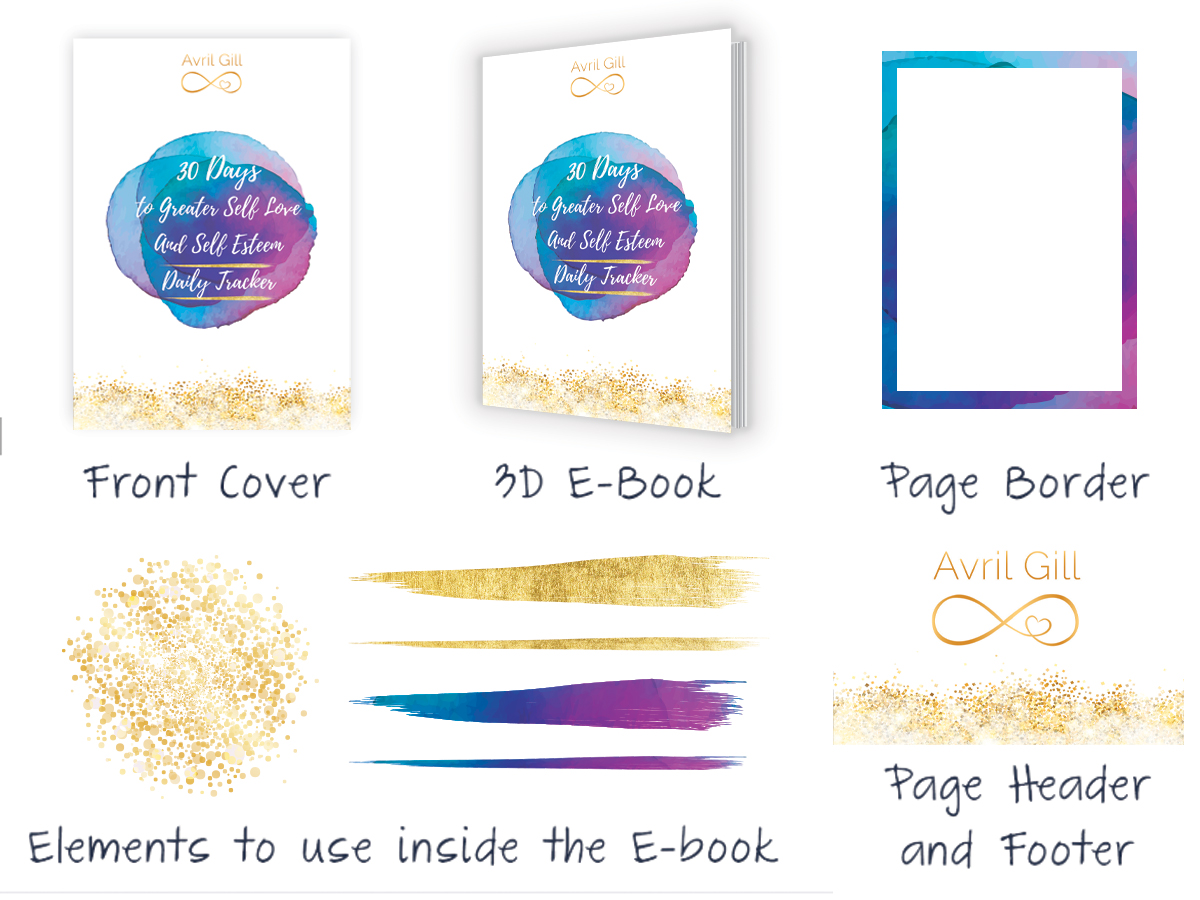
Have a look at the examples below for some inspiration.
It is so EASY to create and start making an income from selling LOW CONTENT notebooks, planners and journals on Amazon KDP. Planning is your essential first step. Think about what sort of book or journal you want to create and how you want it to look.
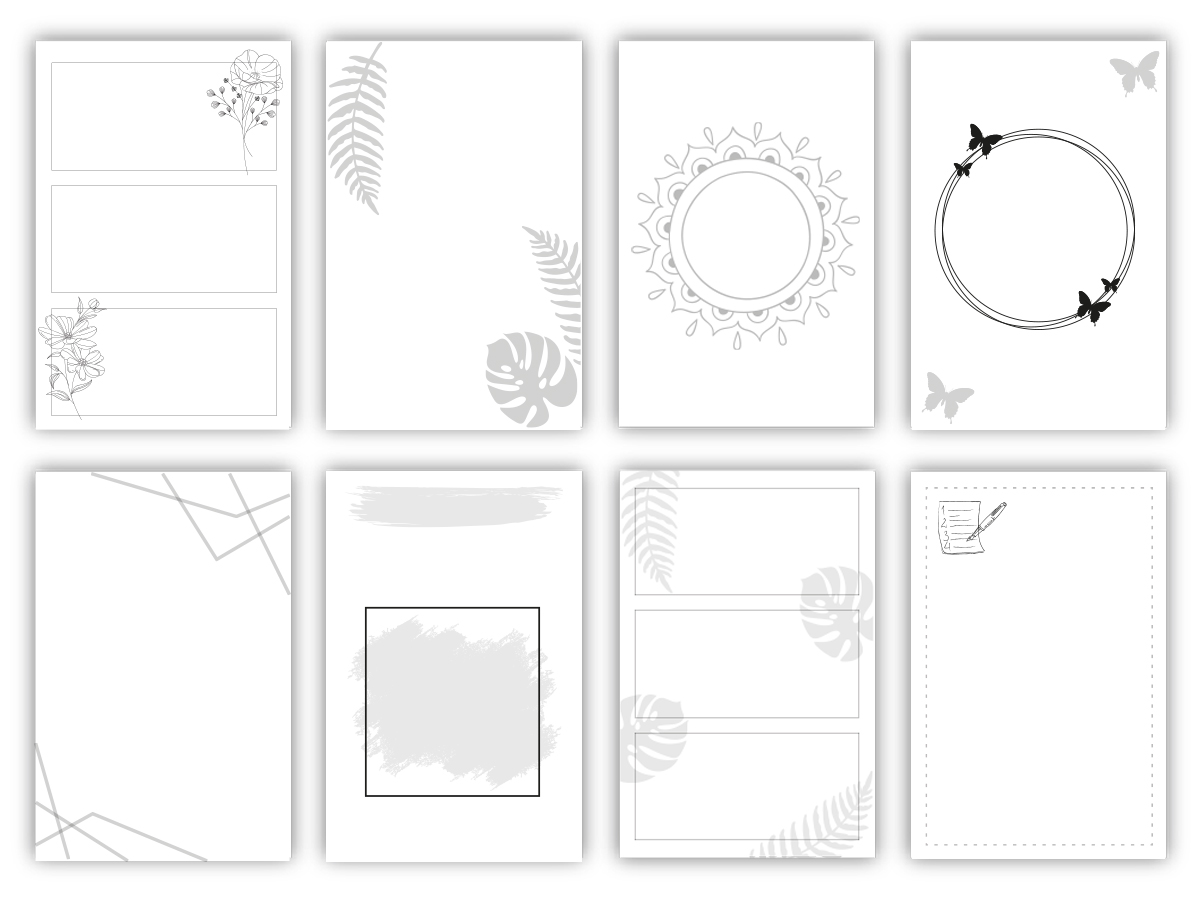
You cannot publish a completely blank paper book, however you can have very simple low content pages. It could be as simple as having lined paper to write on, or perhaps
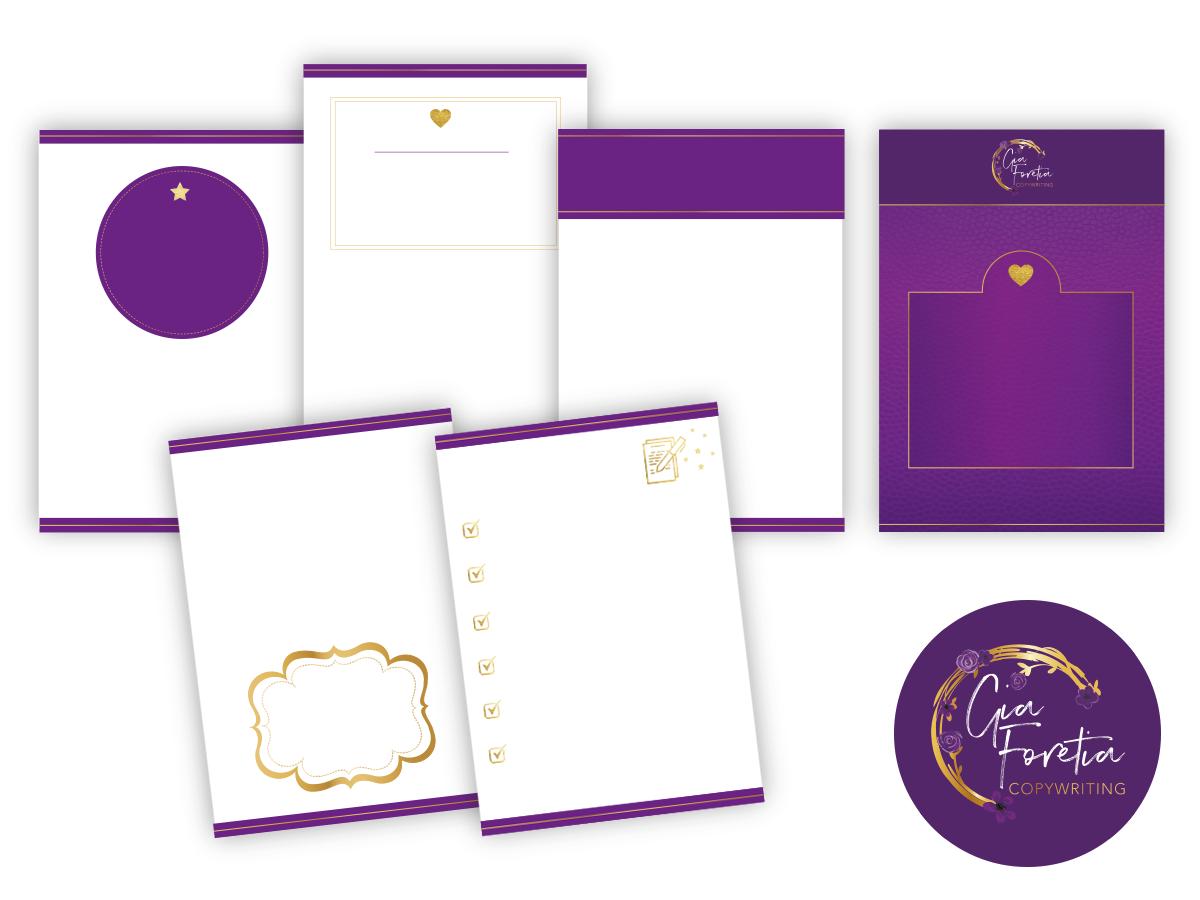
Have a look at the examples above and below for inspiration.
Do you want to have a book with lined pages? or if you prefer to offer blank pages to write on, then consider using a simple header graphic which can be repeated on each page, or perhaps create a frame or graphic elements in the corners. Consider adding graphics to make the pages more interesting and make your book more unique. Use a design element that compliments the cover theme of your book for a consistent aesthetic.


If you don’t already have an amazon KDP account, it is easy to set one up and add your payment details ready to earn money.
Just go to kdp.amazon.com to set up your account.
Once you are set up it is time to get the essential information you need in order to create your book.
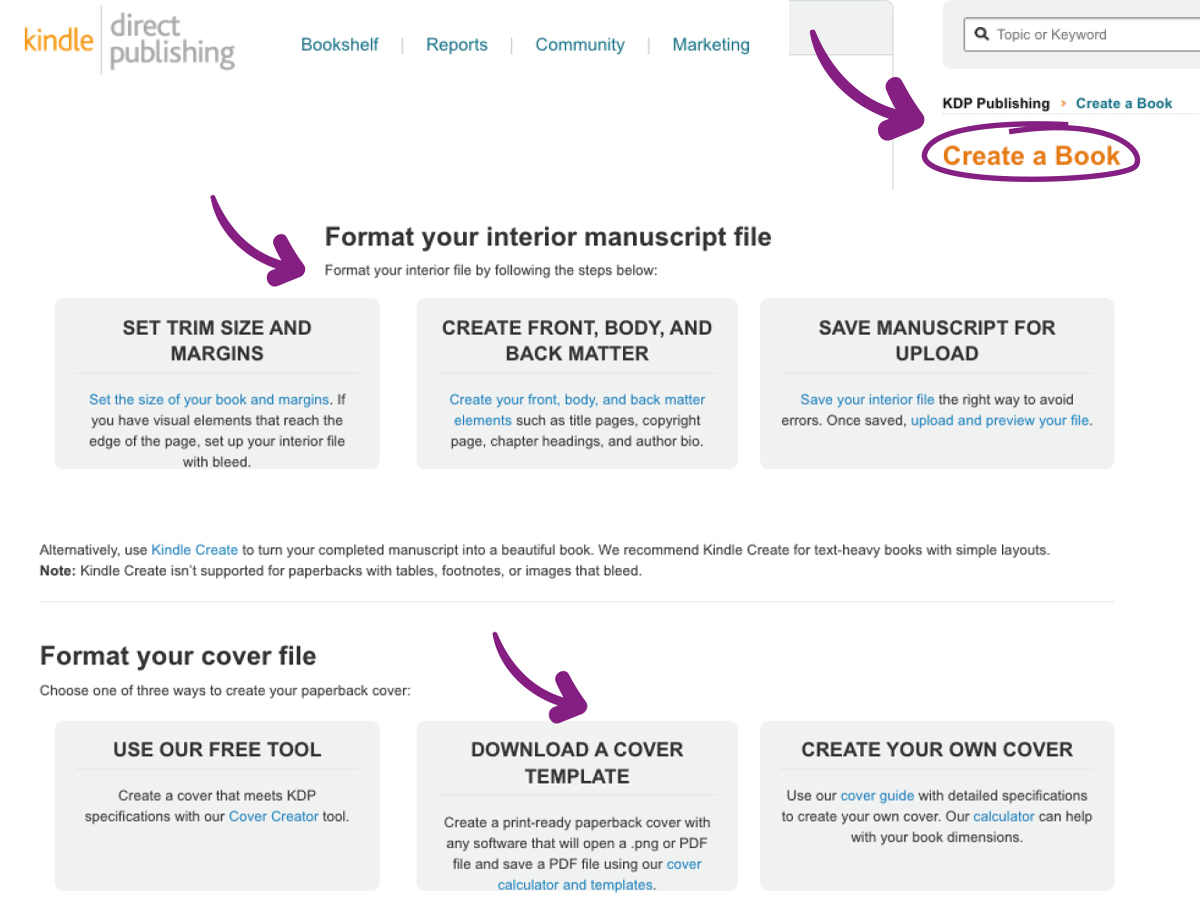
You need to choose the size of your book and the number of pages you want to have. It is important to do this before you start creating, so that you make sure you have the correct templates to work with. The number of pages will effect the dimensions of your book cover spine.
When in KDP, go to the “Create a Book” section, where you can click through to get the information and templates you need to proceed. There are lots of pre-set book sizes to choose from.
When you have planned everything out, it is time to get started and create your book.
2) CREATE

You can set up your “Manuscript” (Your low content pages) in various ways. For example, using:
• Microsoft Word
• Pages
• Adobe In-Design
• Adobe Acrobat
• Canva
However you choose to set up your file, the most important thing is to make sure you set your document up at the correct dimensions for the book size you have chosen and ensure you are using the specified correct “Margins” for your chosen book size. (You will find out your margin specifications in the planning stage via Amazon KDP)
You must make sure all text and any relevant graphics are within the guidelines of your margins. This is known as your “Safe Print Area”.
*Note, the easiest thing to do is contain everything on the page within the Margin guidelines, however if you want to print any graphics or images right up to the edge of the page, you will need to have your document set up with “bleed” and choose to print with bleed when uploading your document to Amazon.
Your Manuscript (content pages file) must be set up as a high resolution (300dpi) print quality PDF document for print. Make sure you choose print quality settings when you set up and save your file.
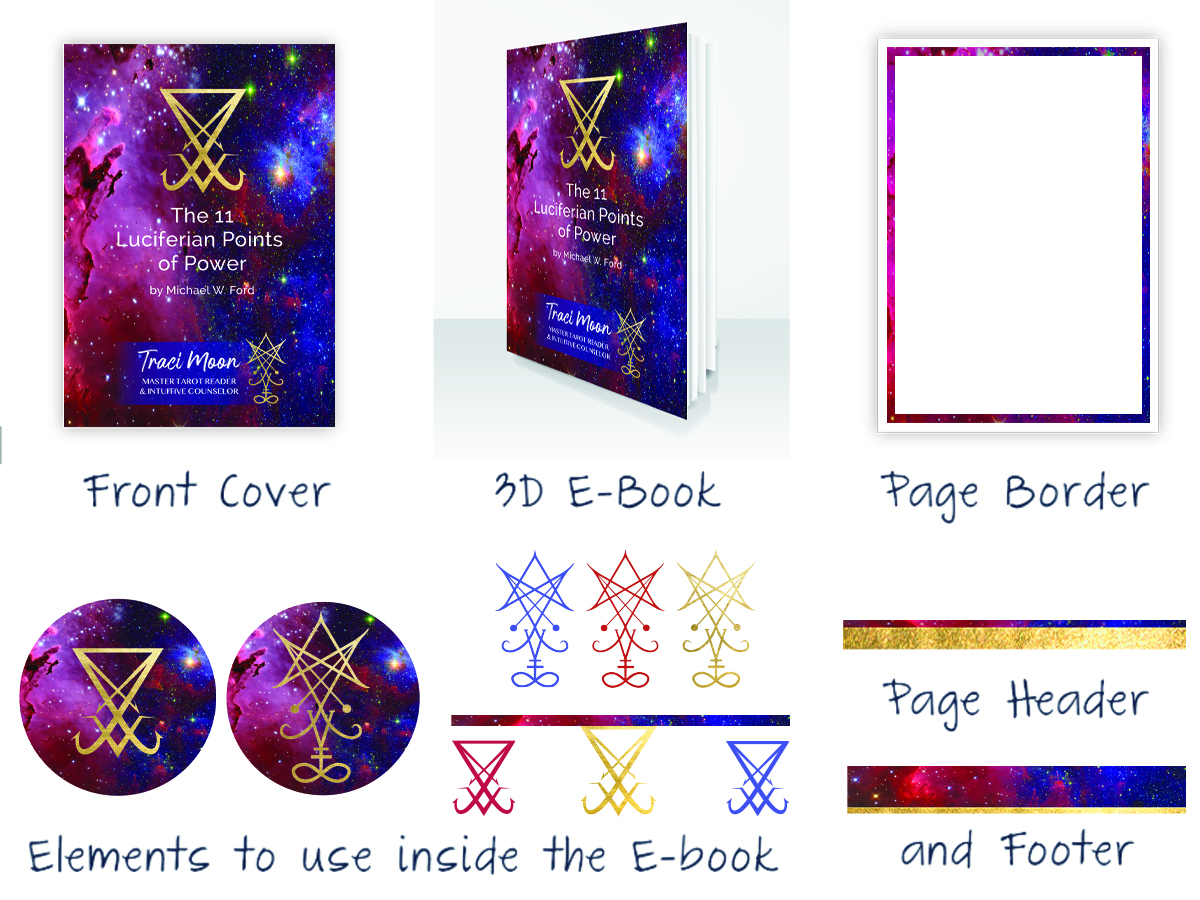
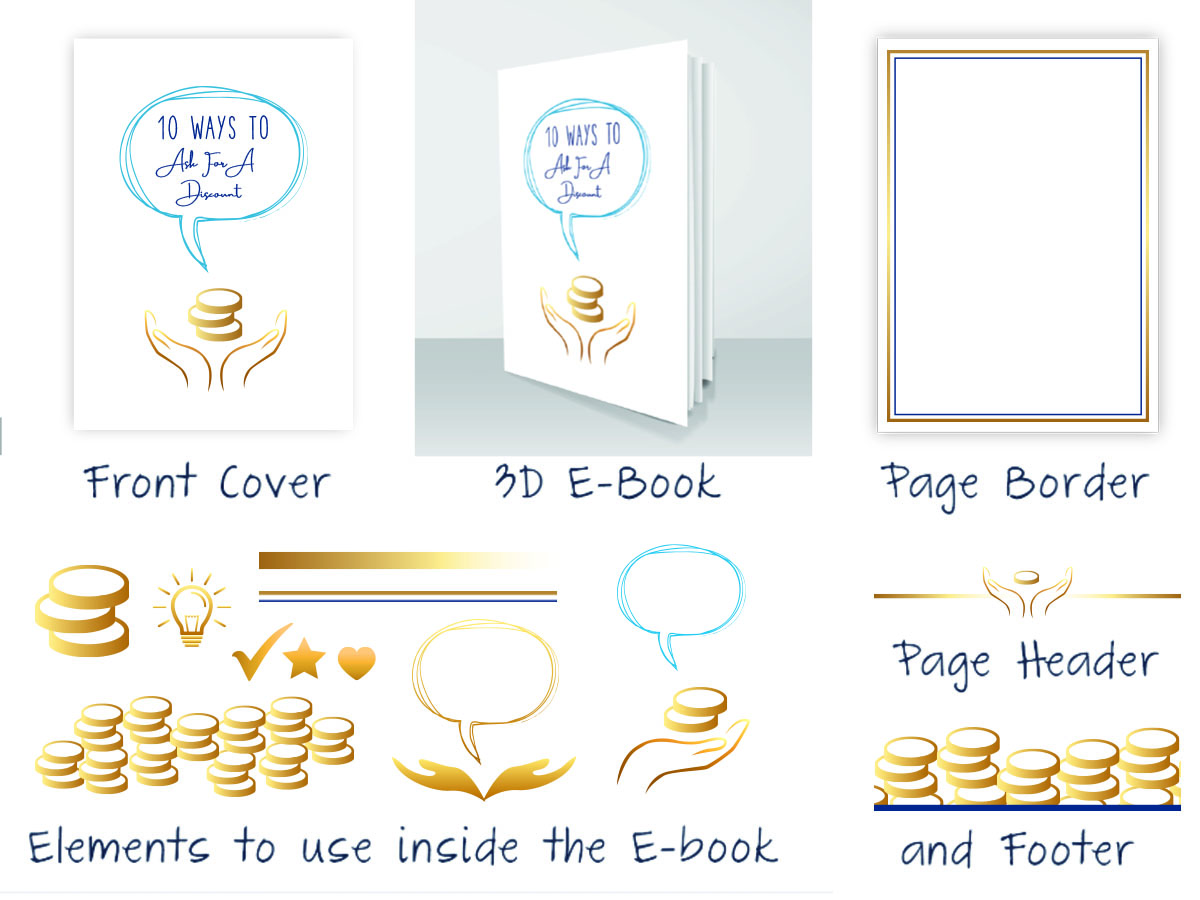
Creating Your Cover.
Again, you can create the artwork for your cover in a number of ways. For example using:
• Adobe Photoshop
• Adobe Illustrator
• Canva
• Other design software or apps
• Using the “Cover Creator” on Amazon
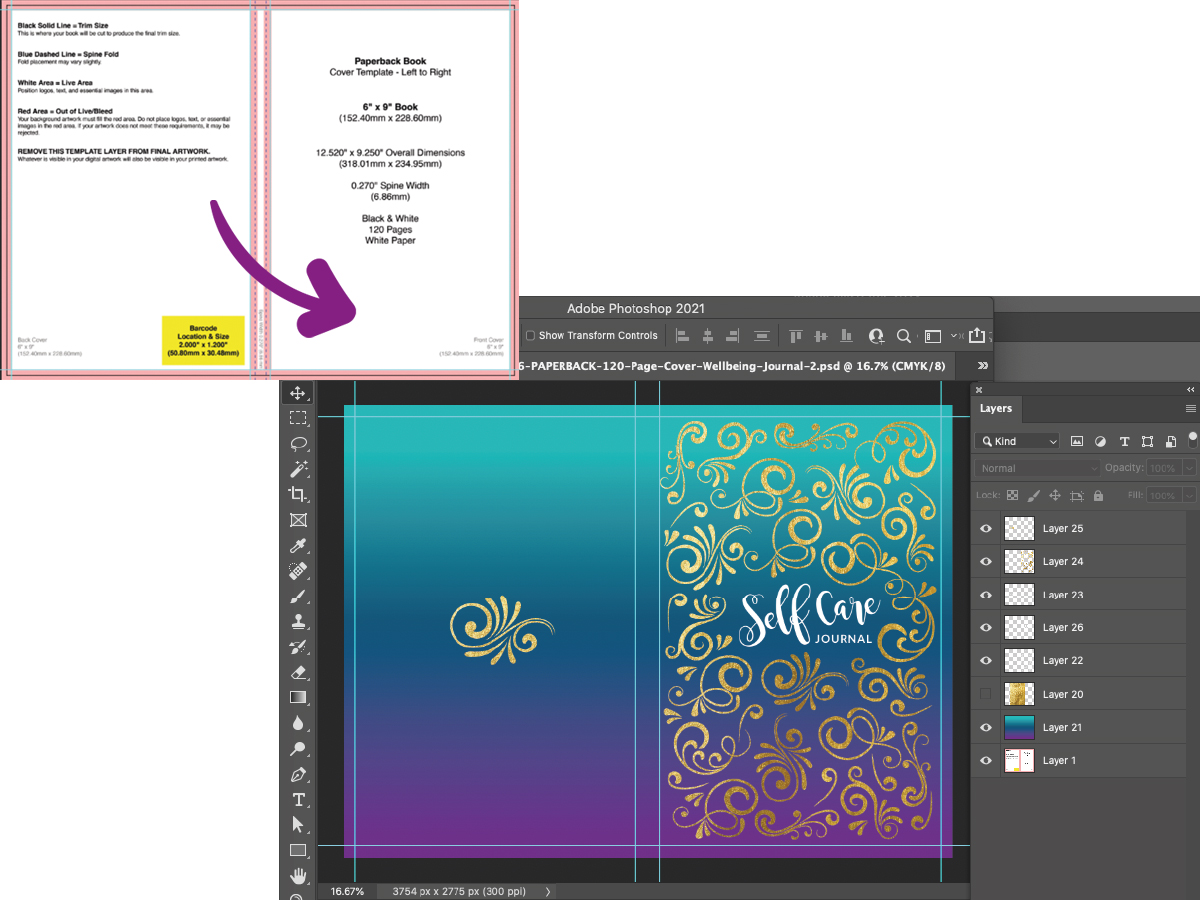
You will have downloaded your “Cover Template” from Amazon already during the planning stage. Your Cover Artwork will have a Font Cover, Back Cover and Spine all as one document.
Make sure you keep all text or important graphics within the “Safe Print” areas indicated on your template.
Make sure you have the copyright or relevant permissions and licence to use any images or graphics that form part of your cover.
On the template you will see there is an area on the bottom right hand side of the back cover where a barcode will go. You can either put your own barcode on the design or leave a space for Amazon to apply a barcode in that area. It is just worth remembering so that you do not place an important design element or text where it will be covered up by a barcode.
It is not necessary to have an ISBN for a notebook, journal or planner.
Make sure you set your document to and create your artwork at Print Resolution Quality 300dpi and save your document as Print Quality PDF.
Have Fun Creating!
If you’d like some help creating a beautiful cover and content pages for your notebook, journal or planner, I have got your covered.
As a qualified designer with lots of experience, I can give you advice or create your artwork to the correct specifications for you! Check out the offers at the end of this course or CLICK to Email Ces at >>> creative.ces@gmail.com <<< for a quote, I'd love to help create your awesome design!
Now… click on the button below to take the next step and learn how to upload and publish your book as there are some essential “planning and preparation” steps you need to consider before you actually upload and publish.
